After Installing the Ubuntu Operating Systems in all nodes, you have to configure the networking setup between all nodes to communicate privately within network.
Following steps are in very precise form and you should follow every step carefully to get clear understanding about configuring network for OpenStack
We are using total 6 nodes to install the OpenStack
- One Controller Node
- Three Compute Node
- One Block Node
- One Storage Node
To create the network between these six nodes using Network Switch, Plugin one ends of six cables in switch and second end of these six cables into nodes/computer ports.
There is no need to add/plugin internet/Ethernet cable into switch port for internet connection. This switch is only for management of internal network connection between nodes.
To provide internet connection to all nodes, add additional Network Interface Card(NIC) to Controller, and Compute nodes only(We will discuss in later tutorial).
 |
| Network Switch |
First of all we have to change the Hostnames of all nodes according to OpenStack documentation names like 'Controller' and 'Compute1' etc.
To change the hostname just write the following command in terminal
sudo nano /etc/hostname
Then enter password of your OS, then change your host name according to nodes like 'Controller' and 'Compute' etc.
Now it's time to assign IP addresses to each node in connected network of six computers.
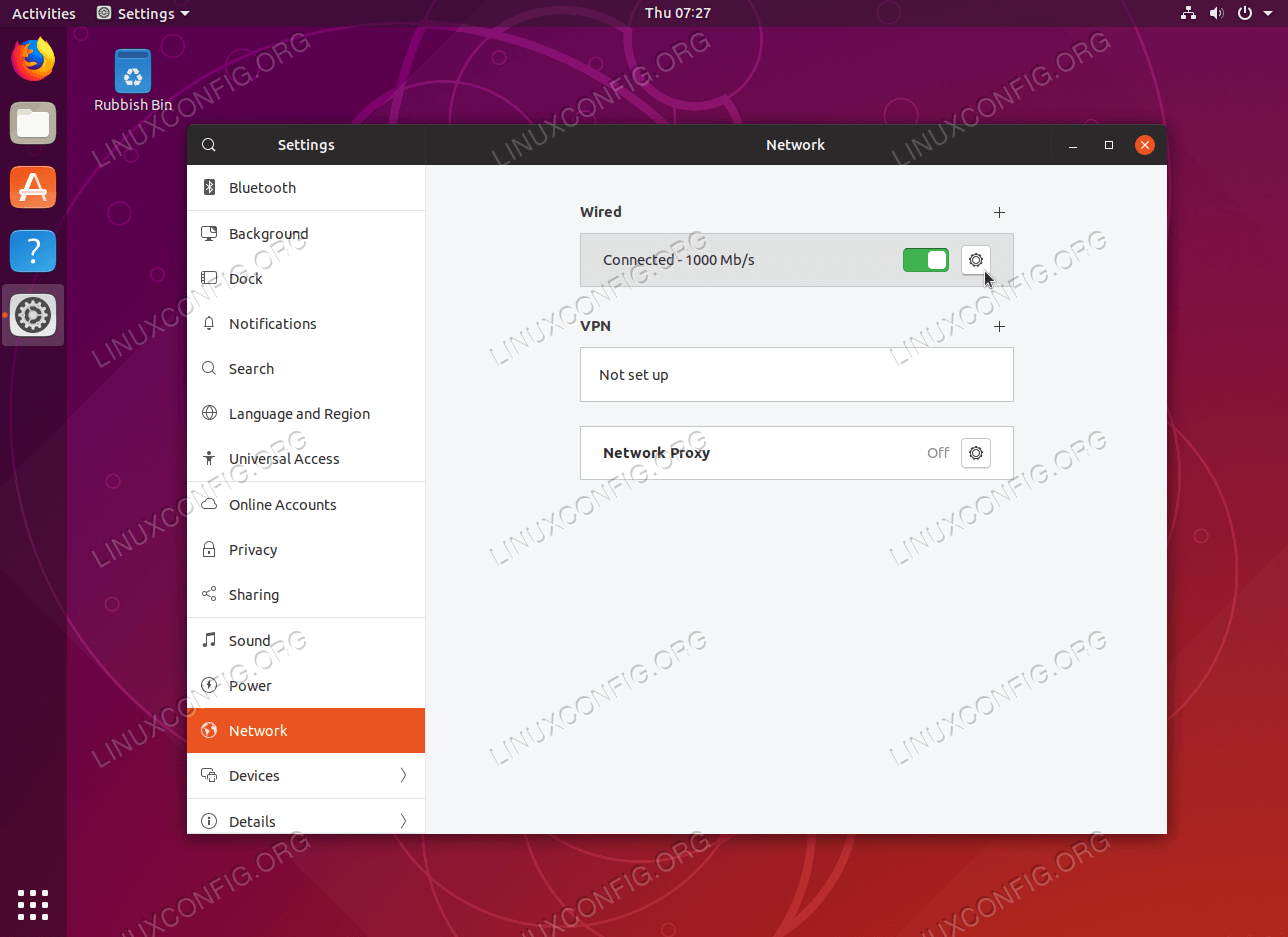
Go to the following options in Ubuntu Desktop, Select Wired Settings from top right corner

then click on setting icon, under the Wired open as in the following image

then Select IPv4, select Manual instead of Automatic(DHCP). No need to set DNS right now.
The above hostname and static ip is for Controller node,
Change the Hostname and add static ip for all remaining nodes as well.
Add hostname and static ip according to OpenStack official documentation
After adding hostnames and static ip in all nodes, add all nodes IPs and hostnames in /etc/hosts file.
Check out the following steps to add IPs and hostnames into hosts file.
Write the following command into terminal
sudo nano /etc/hosts
Comment out or remove previous 127.0.1.1 sarmadali-Y11C
Some distributions add an extraneous entry in the
/etc/hosts file that resolves the actual hostname to another loopback IP address such as 127.0.1.1. You must comment out or remove this entry to prevent name resolution problems. Do not remove the 127.0.0.1 entry.
Add all hostnames and Static IPs in all nodes individually.
After doing all the above steps you must Reboot/Restart all nodes/computer to reflect the changes
After reboot all the nodes, open terminal and write the following commands to check the network connectivity between these connected nodes.
From Controller node check all other nodes
ping -c 4 compute1
or
ping -c 4 compute2
or
ping -c 4 compute3
or
ping -c 4 block1
If packets send and receive successfully by using ping command then your network is ready to install OpenStack.


0 Comments